Page 1 of 1
QUESTION ONE (45 MARKS) 1. Create a new colour resource to be used as the background for the data entry part of the Main
Posted: Thu May 05, 2022 1:12 pm
by answerhappygod
- Question One 45 Marks 1 Create A New Colour Resource To Be Used As The Background For The Data Entry Part Of The Main 1 (173 KiB) Viewed 243 times
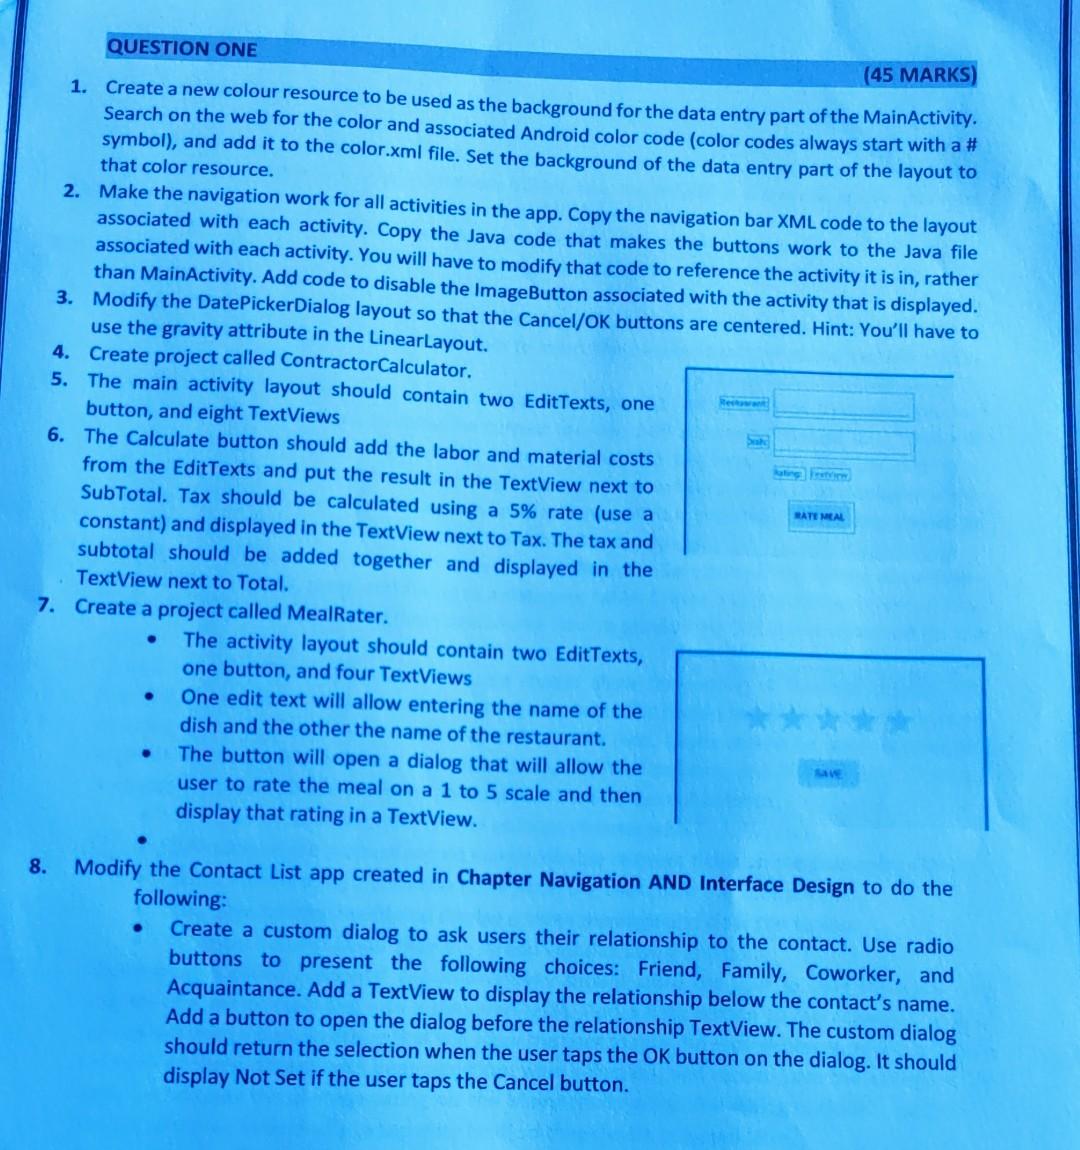
QUESTION ONE (45 MARKS) 1. Create a new colour resource to be used as the background for the data entry part of the MainActivity. Search on the web for the color and associated Android color code (color codes always start with a # symbol), and add it to the color.xml file. Set the background of the data entry part of the layout to that color resource. 2. Make the navigation work for all activities in the app. Copy the navigation bar XML code to the layout associated with each activity. Copy the Java code that makes the buttons work to the Java file associated with each activity. You will have to modify that code to reference the activity it is in, rather than MainActivity. Add code to disable the ImageButton associated with the activity that is displayed. Modify the DatePickerDialog layout so that the Cancel/OK buttons are centered. Hint: You'll have to use the gravity attribute in the LinearLayout. 3. 4. Create project called ContractorCalculator. 5. The main activity layout should contain two EditTexts, one button, and eight TextViews Sea RATE MEAL 6. The Calculate button should add the labor and material costs from the EditTexts and put the result in the TextView next to SubTotal. Tax should be calculated using a 5% rate (use a constant) and displayed in the TextView next to Tax. The tax and subtotal should be added together and displayed in the TextView next to Total. 7. Create a project called MealRater. The activity layout should contain two EditTexts, one button, and four TextViews ● One edit text will allow entering the name of the dish and the other the name of the restaurant. ● The button will open a dialog that will allow the user to rate the meal on a 1 to 5 scale and then display that rating in a TextView. 8. Modify the Contact List app created in Chapter Navigation AND Interface Design to do the following: Create a custom dialog to ask users their relationship to the contact. Use radio buttons to present the following choices: Friend, Family, Coworker, and Acquaintance. Add a TextView to display the relationship below the contact's name. Add a button to open the dialog before the relationship TextView. The custom dialog should return the selection when the user taps the OK button on the dialog. It should display Not Set if the user taps the Cancel button.